Tips on Keeping Your Pumpkins from Rotting this Halloween
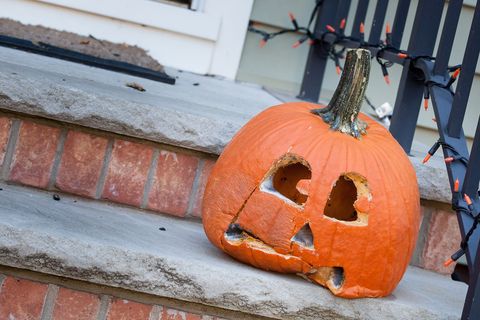
From squash skulls to pumpkin owls, there’s no end to the creations you can make to celebrate Halloween. But that excitement quickly fades as you watch the pumpkin that took you forever to carve wither away on your front porch. It’s inevitable that your pumpkins will rot, but we’ve rounded up some tips that’ll keep your carvings intact for longer.
First, make sure you buy your gourd from a local pumpkin patch. Since it’s grown on-site, it will be spared from any damage it would have experienced in shipping. Second, make sure the one you pick is firm. If you feel any soft spots, the rotting process will start sooner rather than later (if it hasn’t started already). After you’ve found the perfect pumpkin, keep these tips in mind:
1. Clean the inside as much as possible.
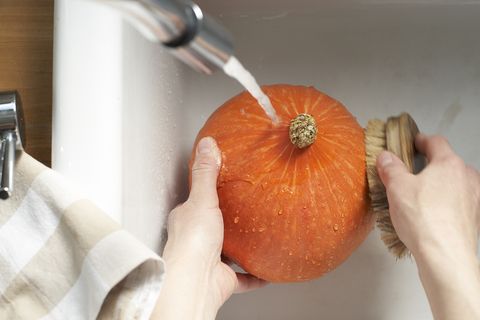
Since they’re moist, any bit of exposed pumpkin guts will start to mold quickly. Clean the surface of the veggie and the interior with a teaspoon of bleach per one quart of water. (Putting it in a spray bottle makes it easier to apply the solution to the whole pumpkin.) This will sterilize the gourd, killing any existing bacteria. Let it dry fully before you start carving.
2. Give it a bleach-water bath after you carve it.
The bleach comes into play again post-carving, giving it an extra-good cleansing. Submerge your creation in a bucket filled with water and 2/3 cup of bleach. Leave it there for up to 24 hours to let the pumpkin soak in the bleach solution.
3. Apply petroleum jelly.
As an extra layer of protection, put Vaseline on the carved edges. This will keep them moisturized and prevent the edges from drying out too fast. If you don’t have Vaseline, vegetable oil or WD-40 works too. But since all three are flammable, don’t put a candle inside your pumpkin — use a flameless votive instead. Don’t put on the jelly before you clean the pumpkin with bleach, either. Since the jelly is trapping the moisture in the vegetable, it will trap in the bacteria along with it if you don’t clean the gourd first.
4. Rehydrate the pumpkin daily.
Pumpkins shrivel up because they run out of moisture. Spraying it every day with water mixed with a few drops of bleach will keep it moist and ward off bacteria. As an even easier solution, spray it with Pumpkin Fresh daily to fight off mold.
5. Store it in the fridge overnight.
When you’re not showing off your jack-o’-lantern on your porch, put it in a plastic bag in your refrigerator. No room? Keep it in the basement (or any other cool, dark area of your house). This tip is especially important if you live in a warmer climate.
6. Give it an ice bath.
If you see your pumpkin starting to wilt, give it an ice bath overnight for some serious rehydration. Once you take it out, dry it thoroughly to prevent mold growth.
7. Don’t use real candles to light it.
Using candles inside your carved pumpkins can have a negative effect on them as the heat is essentially “cooking up the flesh” of the pumpkin. Try using a flickering flameless candles or glowsticks instead.
8. Display it in a stable temperature.
Avoid leaving your pumpkin outside during freezing temperatures. Ideally, you want to place it somewhere with a temperature in the upper 50 to lower 60 degrees Fahrenheit. So if you’re in a area where freezes are likely during October, be sure to take bring pumpkins inside overnight.
9. Don’t carve it.
We know, not carving your pumpkin sounds tragic. But an untouched pumpkin will stay fresher for a longer period of time compared to a carved one. As an alternative, try our favorite pumpkin painting and other no-carve ideas.


